Made to your measurements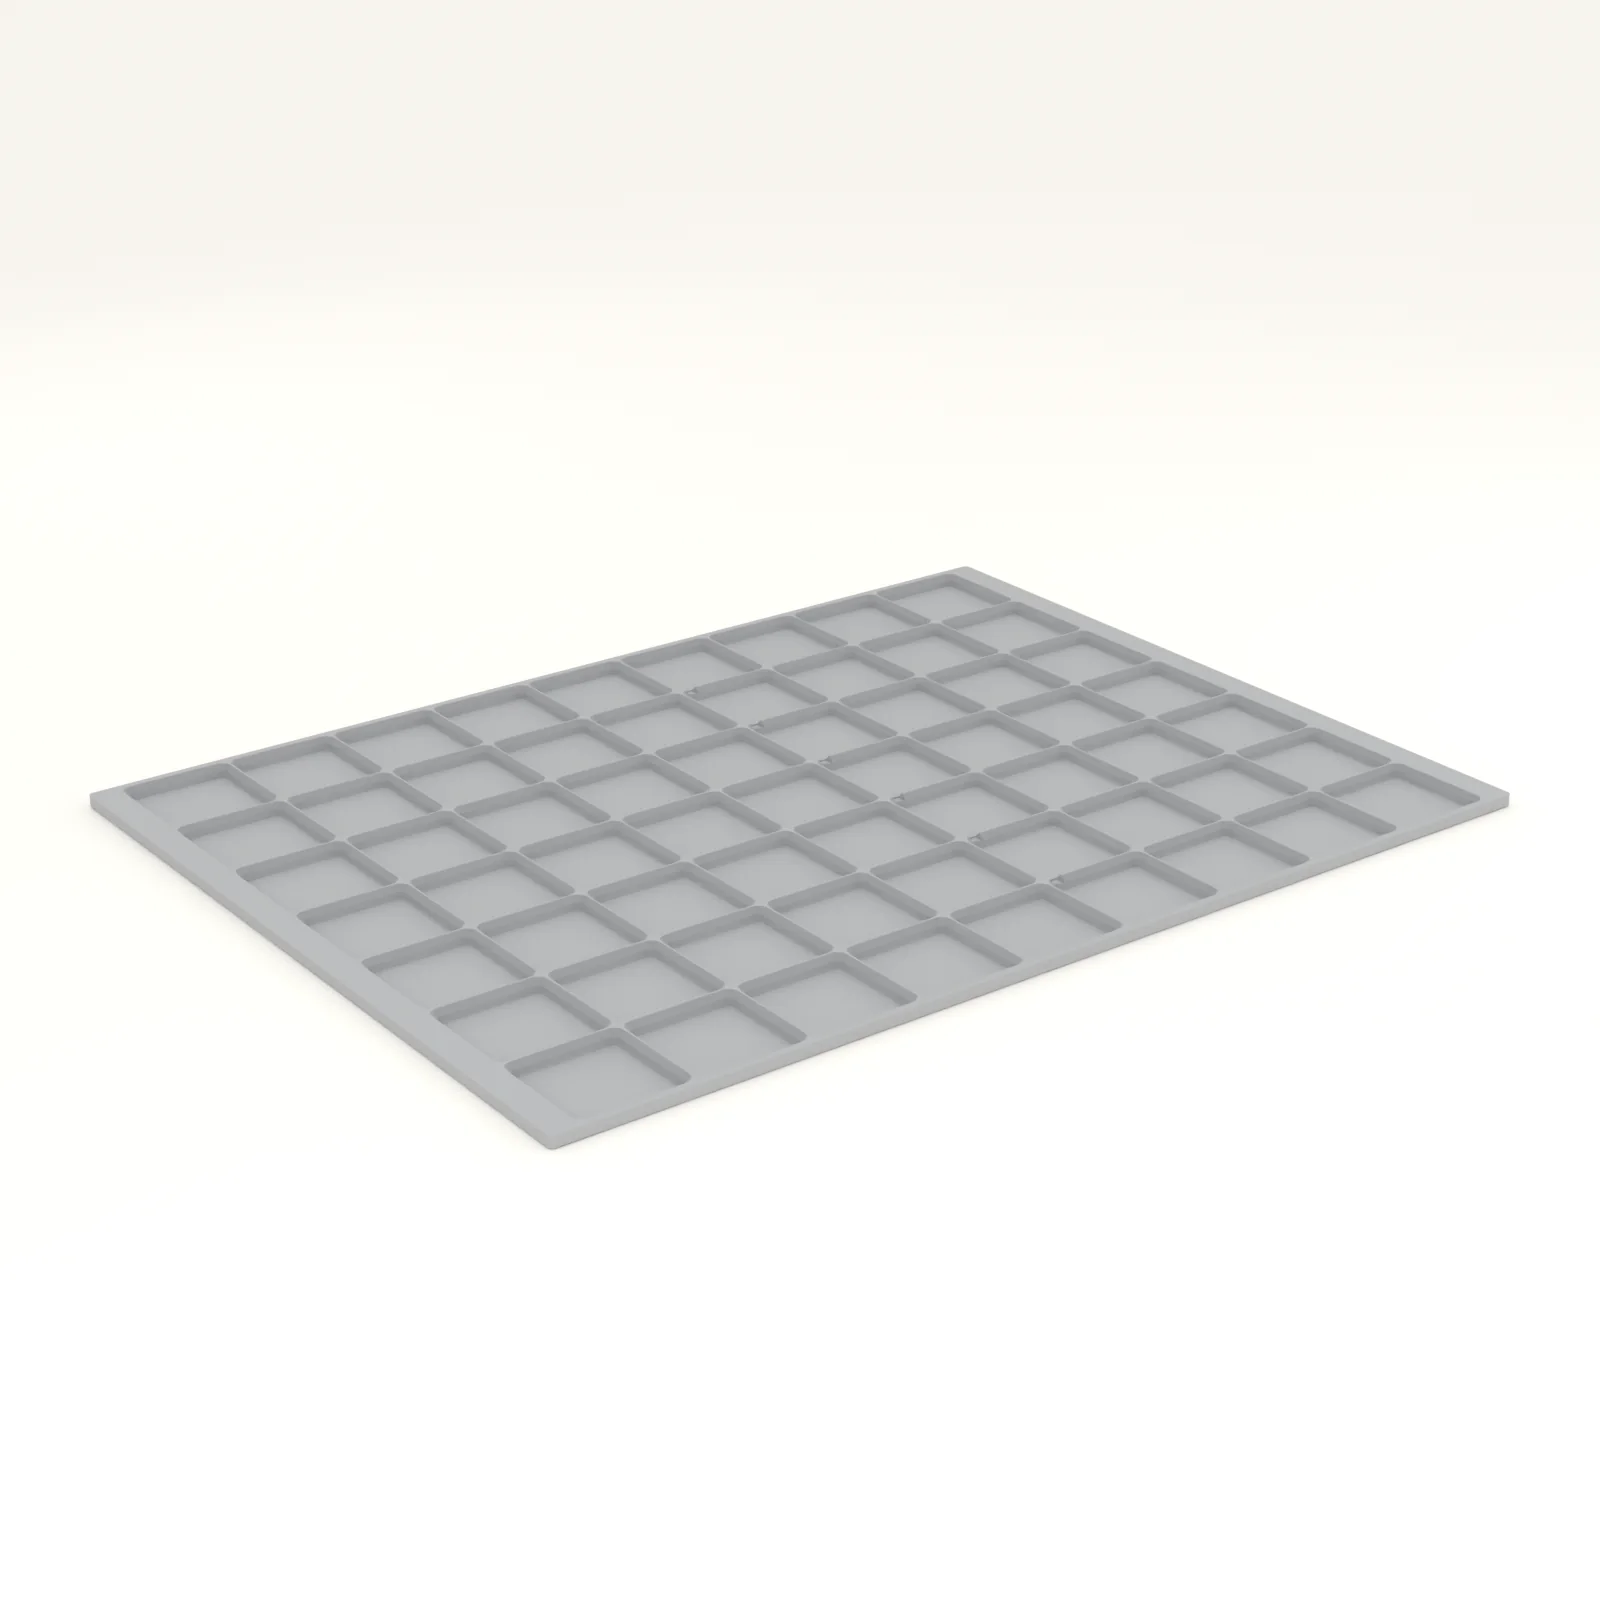
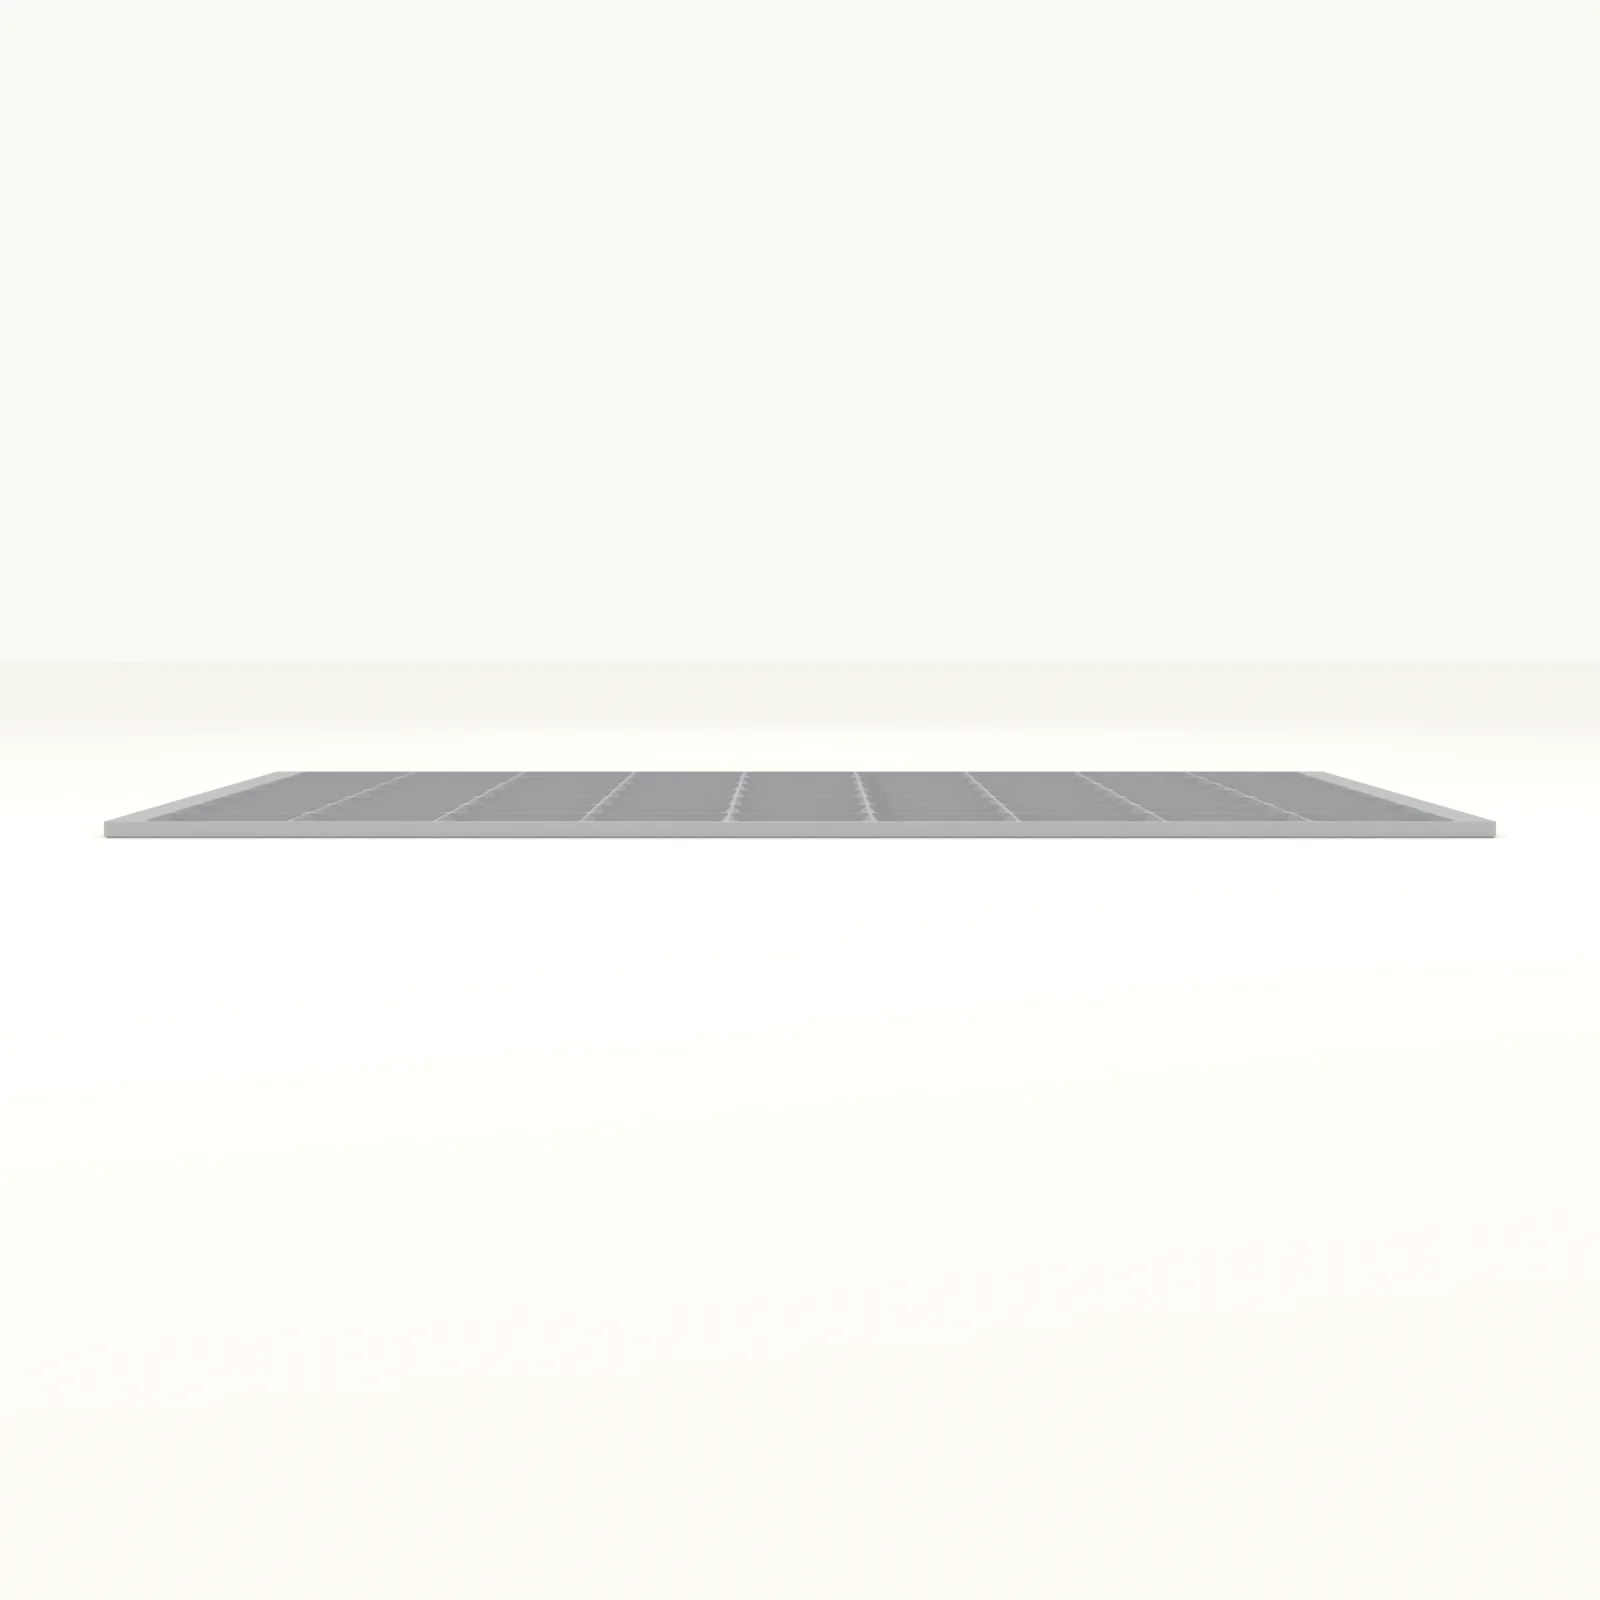
Drawer Baseplate
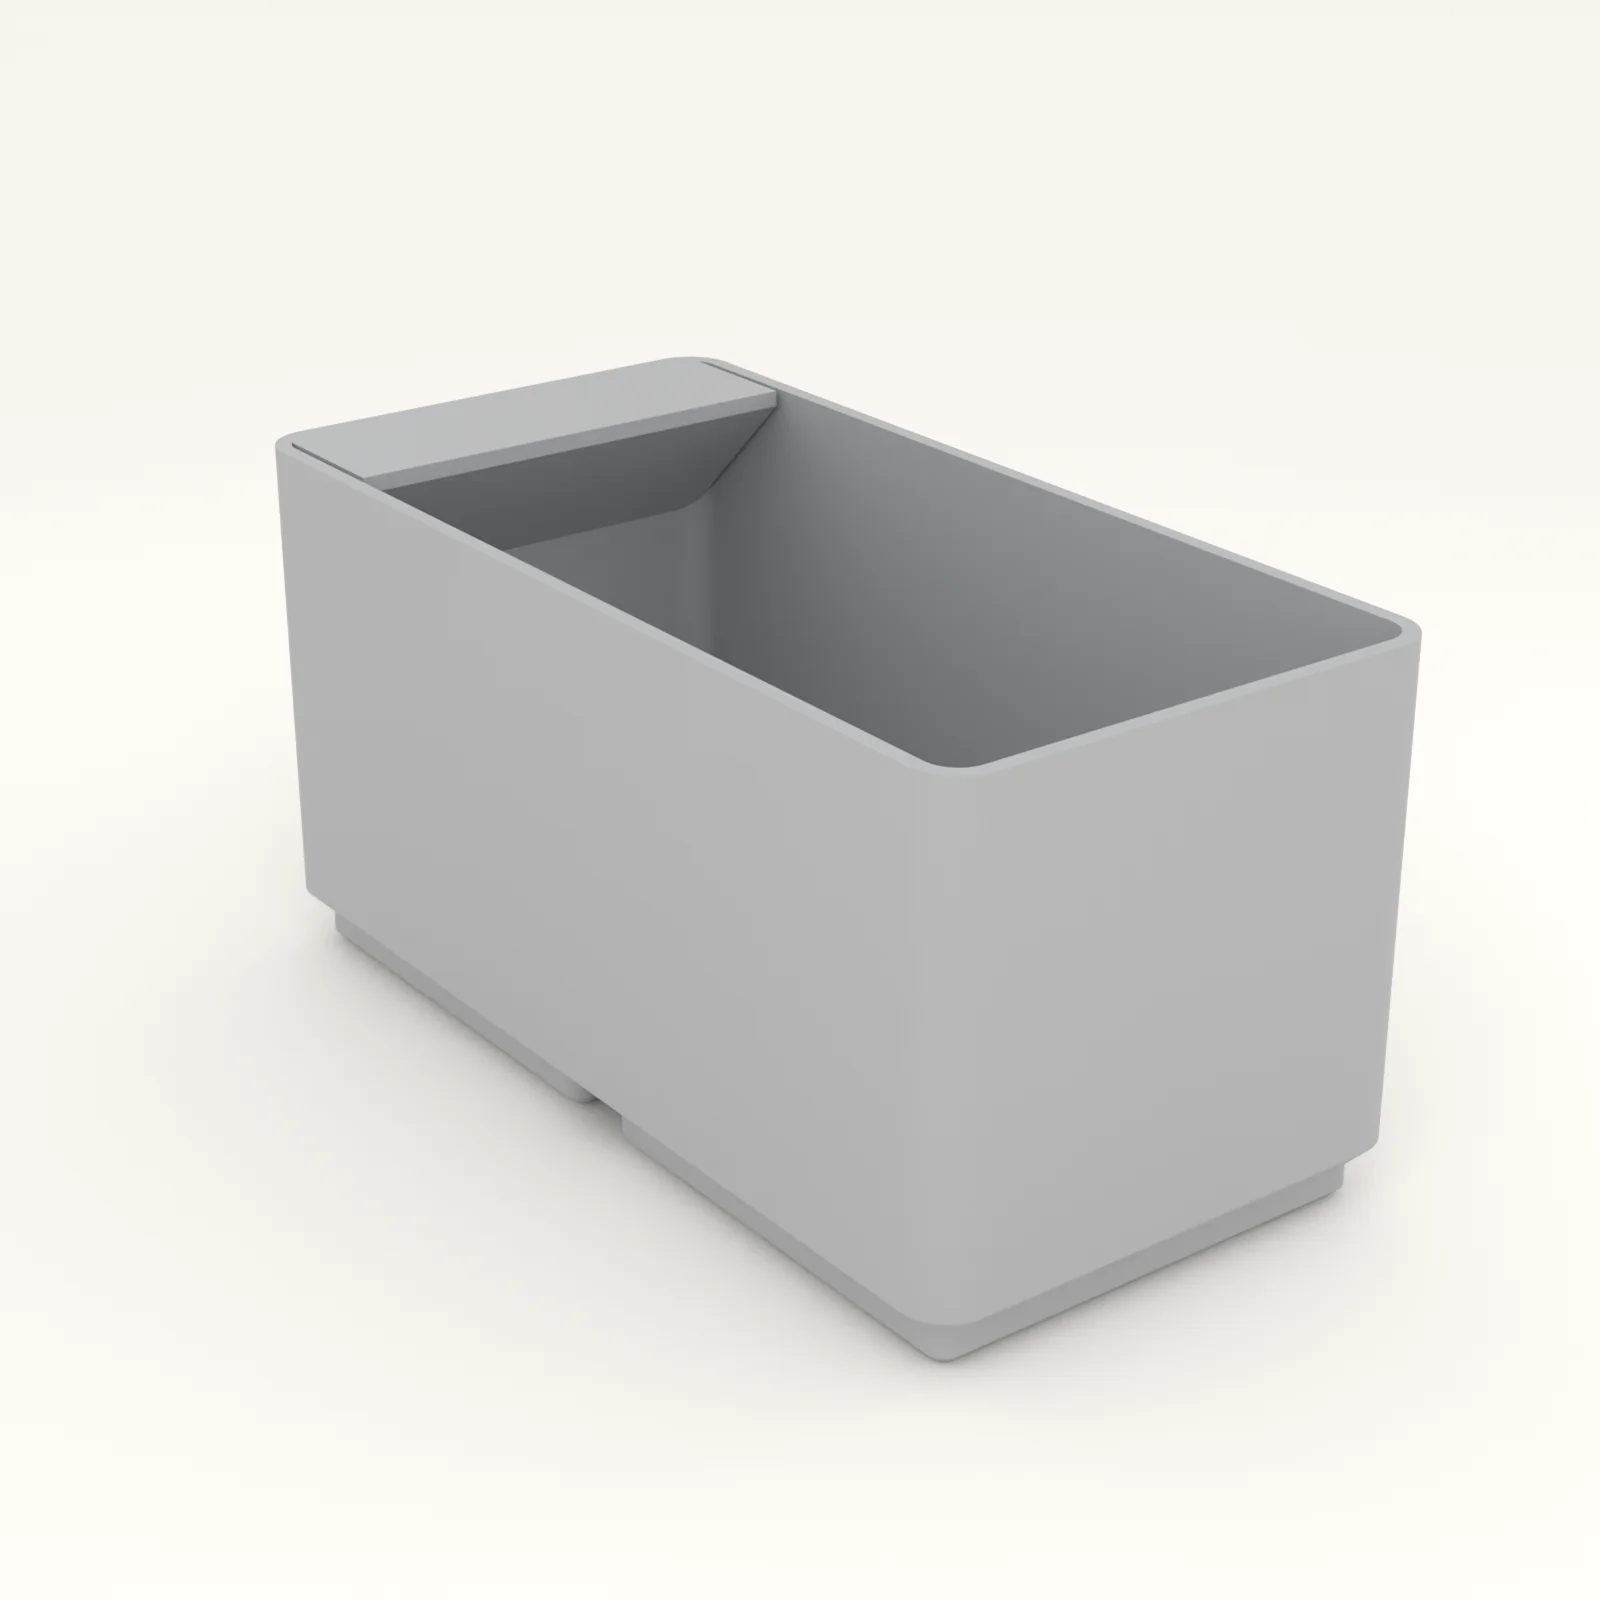
A 42 mm grid baseplate cut to your drawer's inside size, so the bins fill the drawer edge to edge.
Guide
Three numbers, a tape measure and five minutes. Here is exactly where the tape goes so a baseplate or divider kit drops in and stays put.
Every drawer organizer on this site is generated from inside measurements. The drawer baseplate needs the inside width and depth. The drawer divider kit needs those two plus a height. Grid bins need nothing from you at all, because they are standard 42 mm sizes that sit on the baseplate.
The generator does the arithmetic. It takes one millimeter off your width and depth for a baseplate and two for a divider kit, so the piece drops in without pressing on the sides. It fills the leftover edge of a baseplate so bins cannot slide, and it refuses any divider bay narrower than 40 mm, because nothing useful fits in one. What it cannot do is guess what you measured. If the number came from the rim and the floor is three millimeters narrower, the piece is two millimeters too wide and it will not go in.
So the whole guide comes down to one sentence. Measure the inside of the drawer, at the floor, face to face, and write down the smaller of two readings.
Measuring at the rim. The most common miss. Drawer boxes are joined at the bottom, and the bottom panel often sits in a groove that pulls the sides in a little. Some metal drawers taper on purpose. The piece sits on the floor, so the floor is the measurement.
Measuring the front panel instead of the box. On most cabinets the decorative front is wider than the drawer box behind it. Open the drawer and measure the box.
Rounding up. If the tape says 13 and 15/16, enter 13.9375, not 14. Rounding up by a sixteenth is 1.6 millimeters, which is more than the clearance the baseplate leaves.
Forgetting what sits above. For divider kits, if the drawer closes under a slide rail or a lip, measure the height to the lowest obstruction, not to the top of the drawer side.
Metal drawers with rolled edges. A rolled rim can be ten millimeters narrower than the floor. Reach past it and measure the floor.
A kitchen drawer in a stock 18 inch base cabinet. Rim to rim it reads 15 inches. At the floor, front, it reads 14 and 7/8. At the floor, back, 14 and 13/16. Depth at the floor reads 20 and 3/8 on the left and 20 and 5/16 on the right. Inside height at the front of the rim is 3 and 1/2 inches.
What to enter, with the toggle set to inches: width 14.8125, depth 20.3125, and for a divider kit a height of 3.1, which is 3.5 minus about 0.4. In millimeters that is 376 by 516 by 79.
What the generator does with it:
| Piece | What gets made |
|---|---|
| Baseplate, Fill the edges | 8 full cells across (336 mm) and 12 deep (504 mm), with the plate extended to 375 by 515 mm so the leftover space is solid plate and nothing slides. Because 515 is over 300, it prints as tiles split on a cell line. |
| Baseplate, Center the grid | The same 8 by 12 cells with a thin rim, about 340 by 508 mm, centered, leaving roughly 18 mm at each side and 4 mm front and back. |
| Divider kit, 3 across and 2 down | Two dividers running front to back at 514 mm and one running side to side at 374 mm, all 79 mm tall, slotted where they cross. Each is over 300 mm, so each prints as two keyed segments. |
| Drawer | What works |
|---|---|
| Kitchen utensil drawer, 350 to 600 mm wide | Divider kit, three to five bays across, one or two down. See kitchen drawers. |
| Workshop drawer with small parts | Baseplate with Fill the edges, then grid bins by the dozen. See workshop drawers. |
| Shallow desk drawer | Low 21 mm grid bins on a baseplate, or a divider kit at 30 to 40 mm tall. See office desks. |
| Bathroom vanity drawer | Divider kit, two or three bays, 40 to 60 mm tall. |
| Toolbox tray with a flat floor | Baseplate, measuring only the flat part of the floor. |
The smallest baseplate is two cells by two, so the drawer needs at least about 89 mm of inside width and depth. The largest divider kit is 900 mm wide and 700 mm deep.
Read the numbers back once. Width is side to side across the front of the drawer, depth is front to back. If you swap them the piece will not fit. The fit guarantee remakes a piece that does not match the numbers you entered at no charge, and remakes a mismeasured one at half price, so the worst case is a second piece at half the price and a week. Divider kits print to order in 6 business days and baseplates in 5.
A 42 mm grid baseplate cut to your drawer's inside size, so the bins fill the drawer edge to edge.
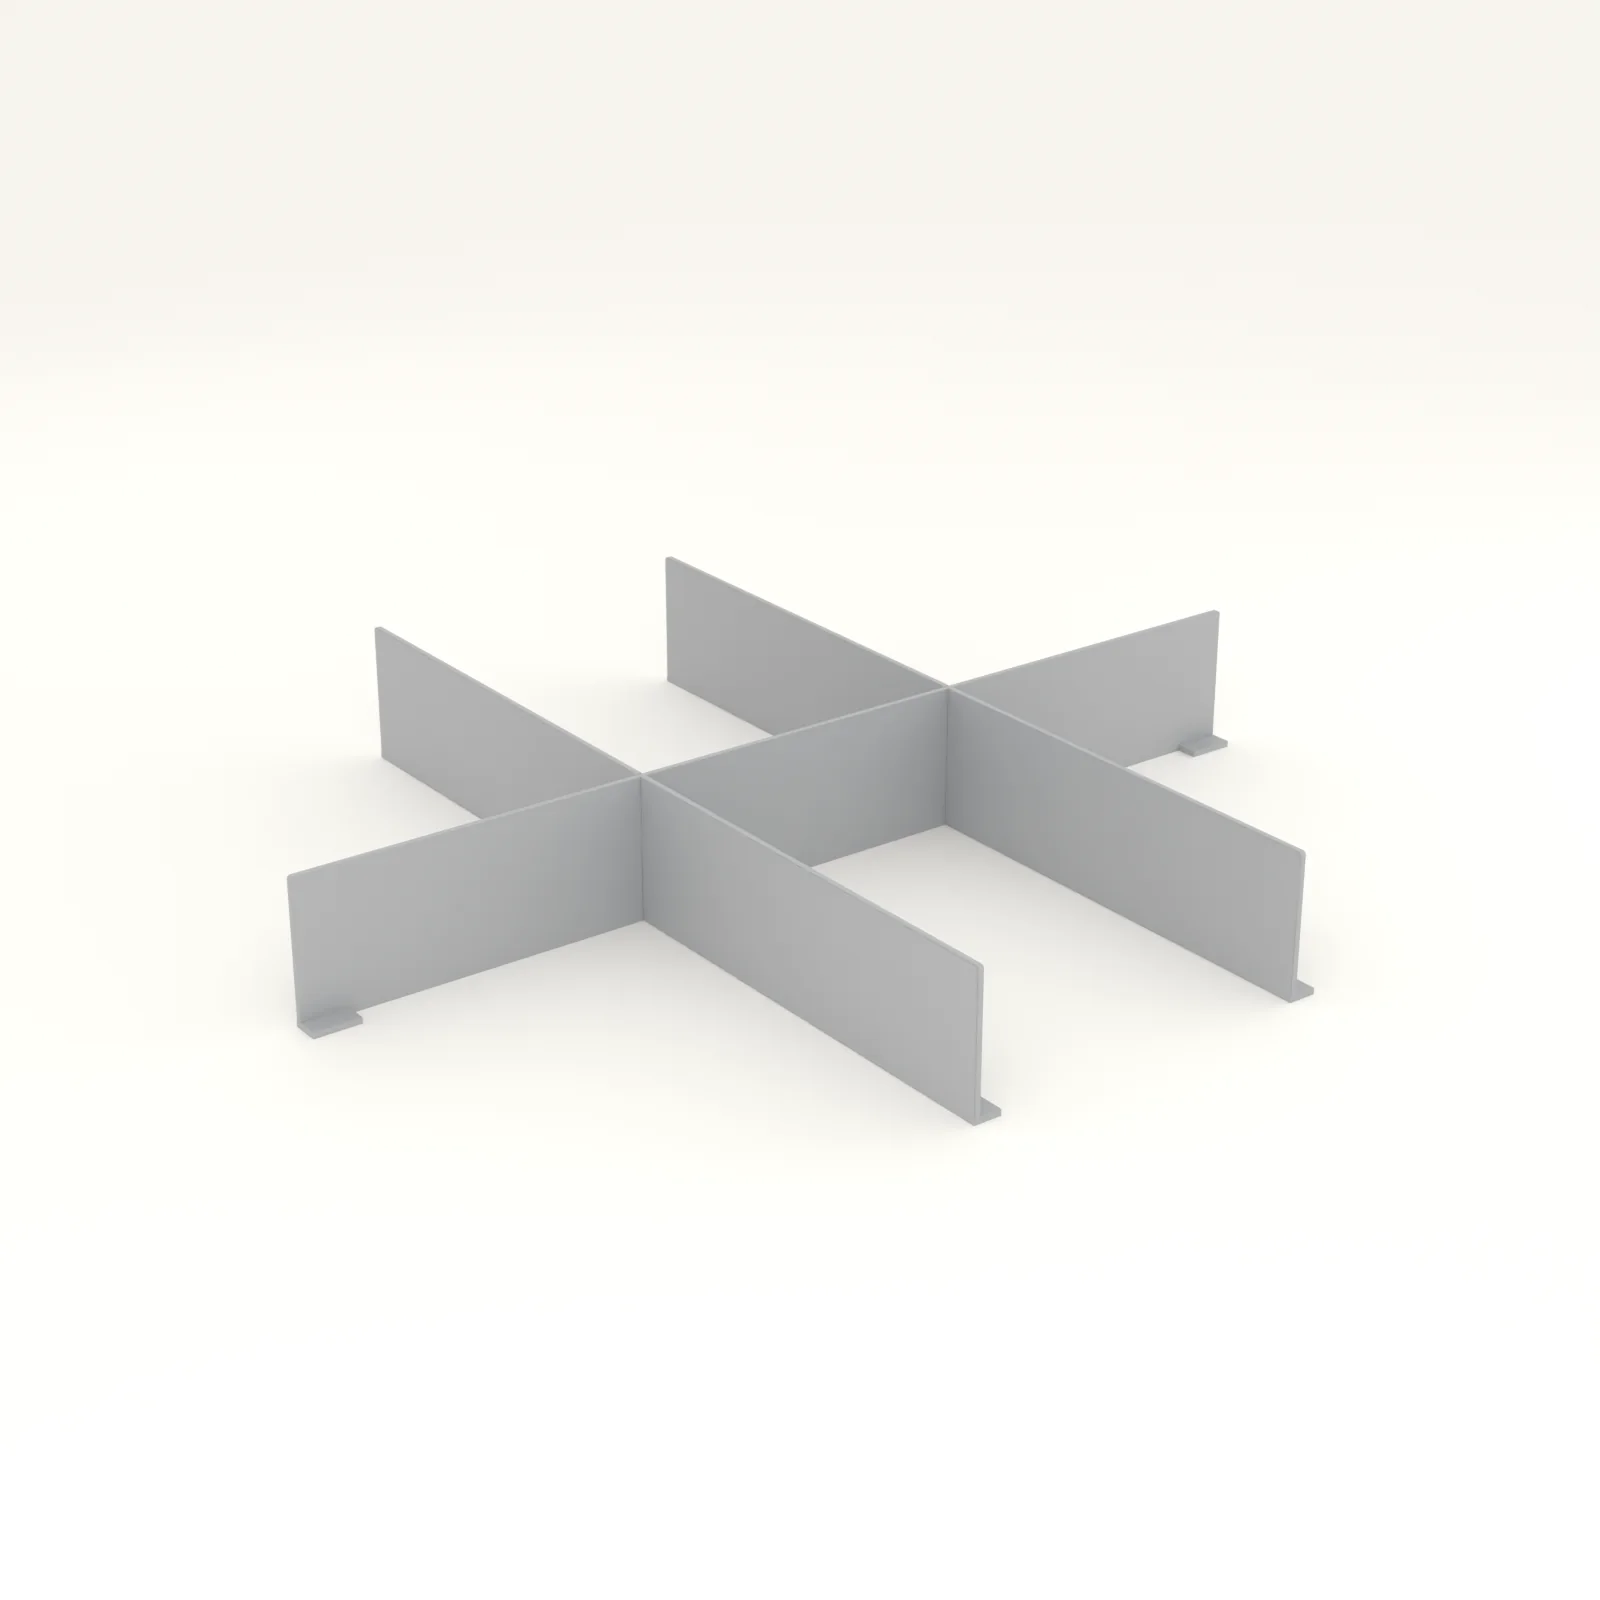
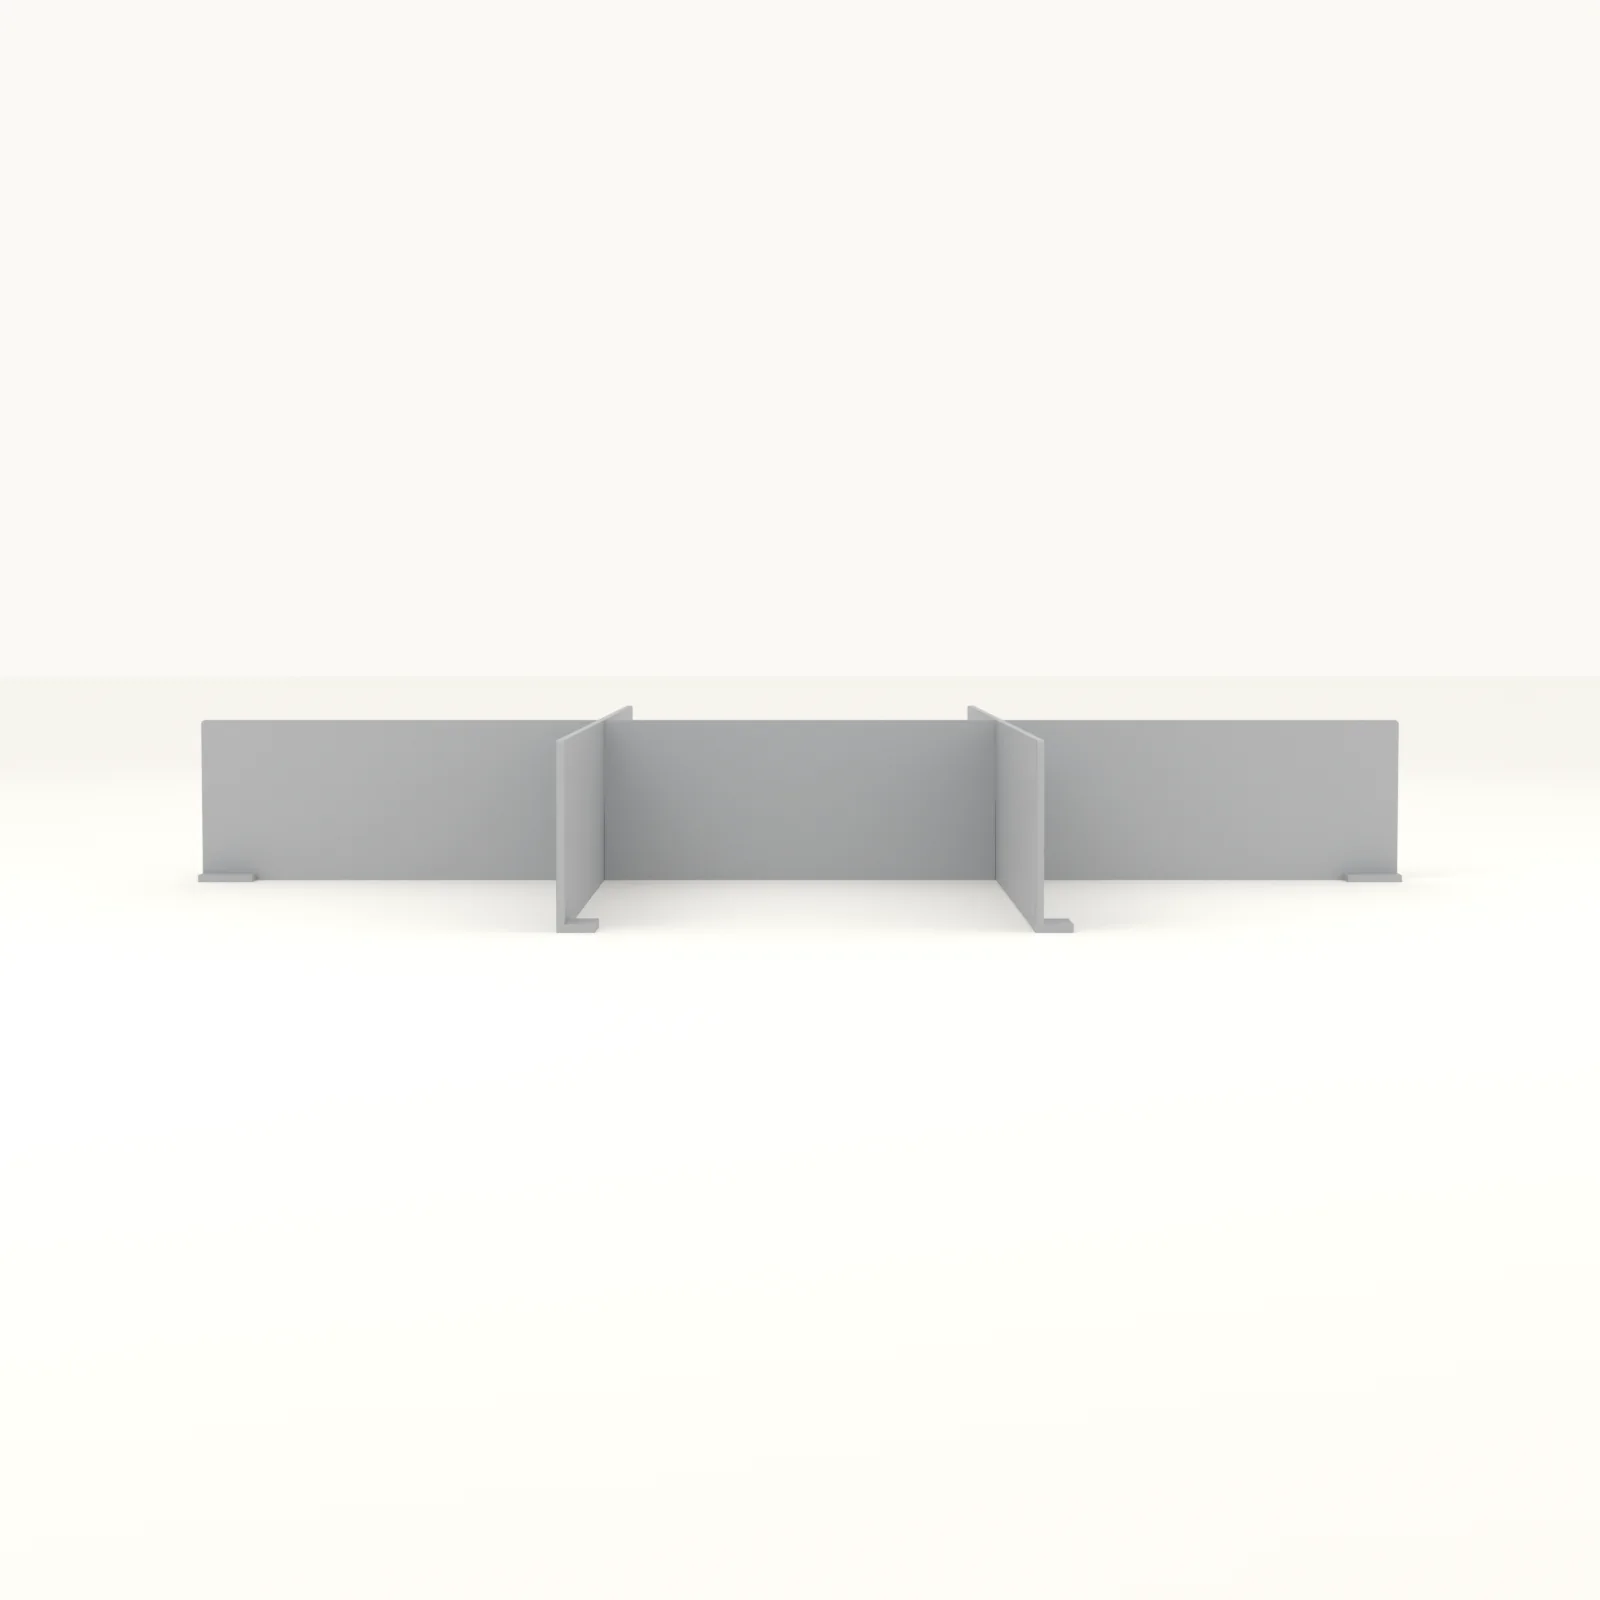
Dividers sized to your drawer's inside measurements, in the bay layout you choose.
The floor. Most drawers are a millimeter or two narrower at the floor than at the rim because of the joint between the sides and the bottom, and the organizer sits on the floor. Measuring at the rim is the most common cause of a tight fit.
Yes. A baseplate over 300 mm in either direction prints as tiles that split on a cell line and line up with small dovetail keys, in both directions if needed. Divider kit dividers longer than 300 mm print as keyed segments. The drawer walls hold everything together.
Enter the smaller of the two width readings and the smaller of the two depth readings. The organizer is cut under your numbers already, so a drawer that is two or three millimeters out of square still works. If it is more than that, email us all four readings and we will set it up by hand.
It makes no difference. The slides are on the outside of the drawer box. You are measuring the inside of the box.
Either. The toggle is above the fields. In inches, read to the nearest sixteenth and type it as a decimal, so 14 and 3/16 inches is 14.1875. The page converts to millimeters before anything is generated.
Not sure what to order? Email [email protected] with your measurements and a sentence on what goes in it. A person answers on business days.